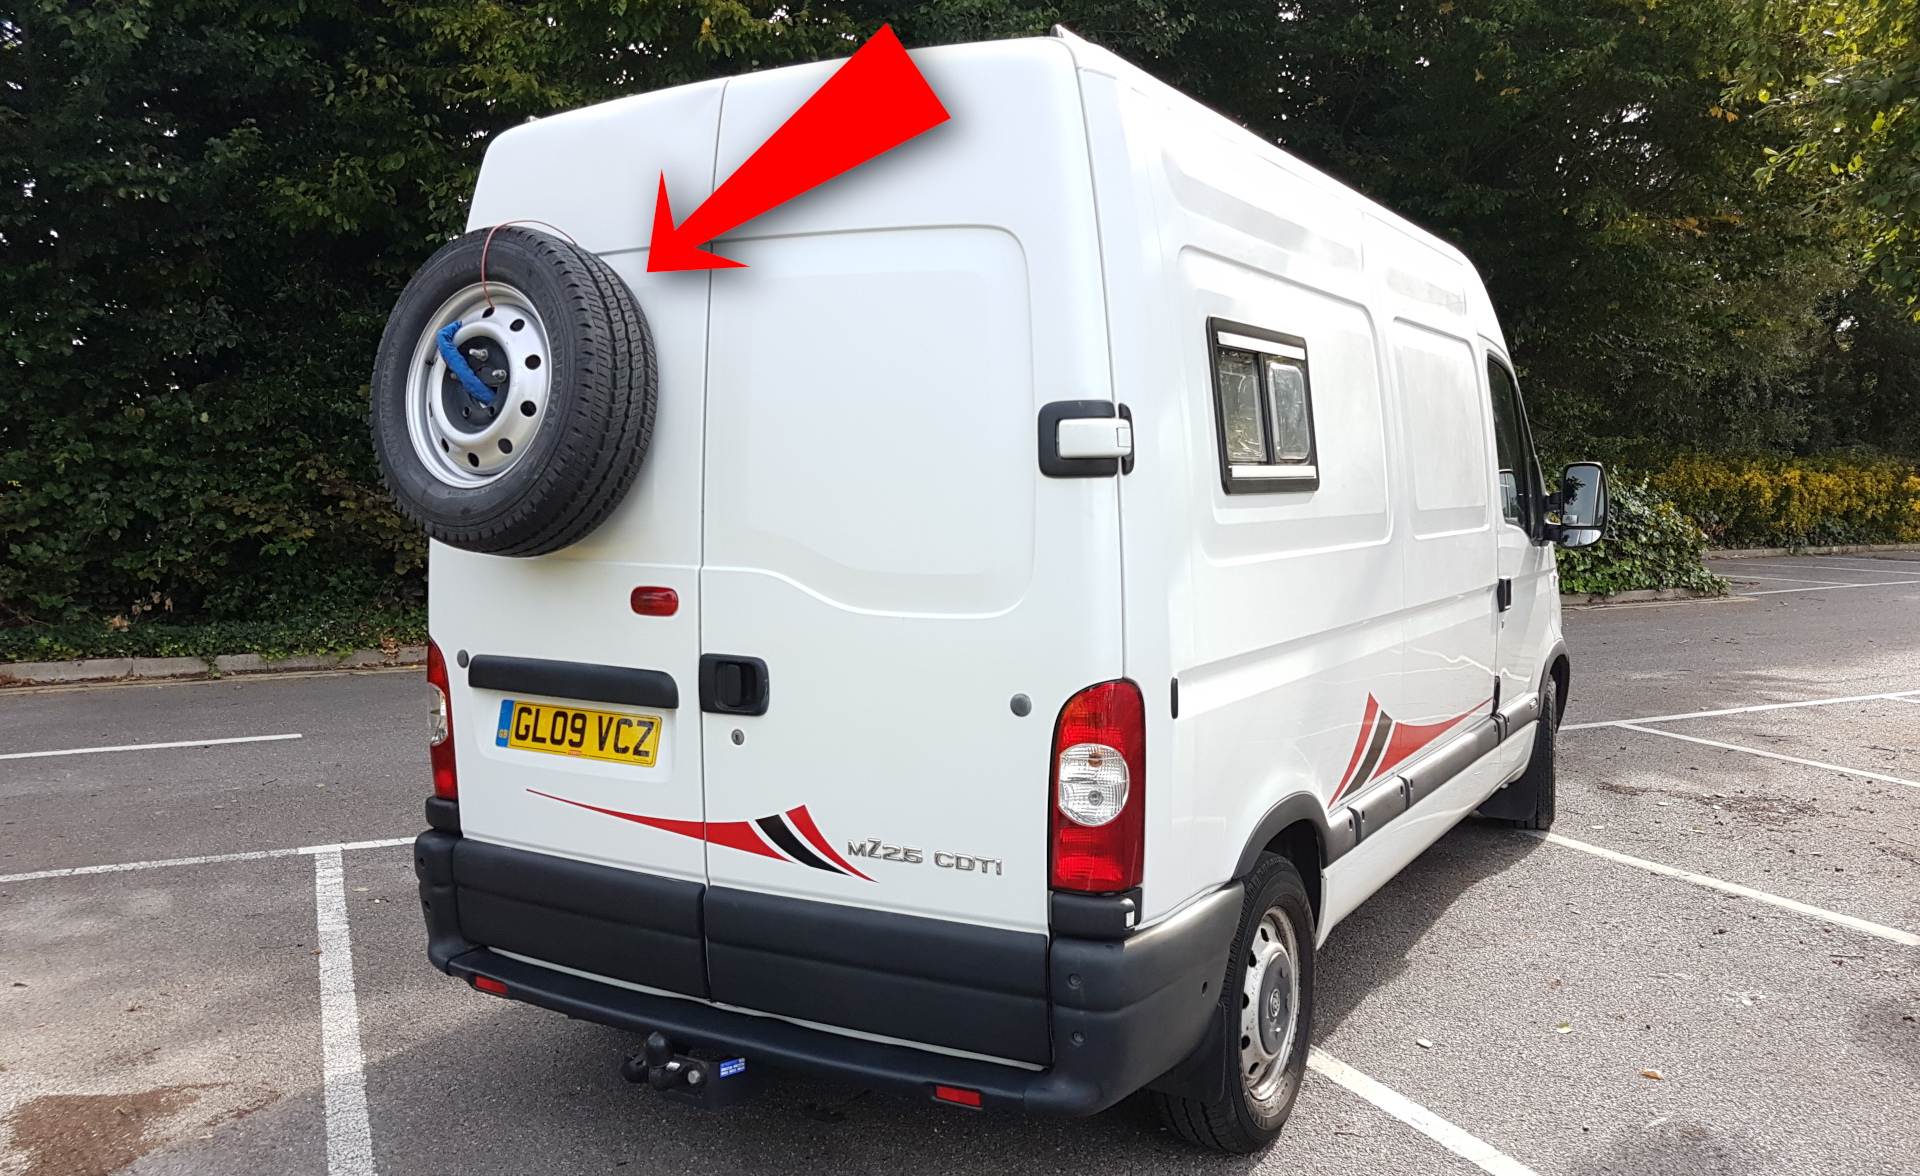
Why do I want to move the spare wheel to a rear door mount? I’d just bought this new van with the idea of converting it and when I opened the rear doors I saw this huge spare tyre taking up a load of space mounted above the near side rear wheel arch. For the first few years I lived with this monstrosity in my van, either on the floor, propped up on the custom shelving or under the bed. But it took up a load of space. As you’ll see on the Movano Motorhome page, after a few years I decided to redesign and rebuilt the entire motorhome and this time I was determined to find an external solution to my spare wheel mounting woes. Here’s what I did:
I soon decided that on the back door was the best place, but I didn’t want it low down because I didn’t want to risk bumping a car when parking. Put it higher up and there’s better clearance. Too high though and that’s a lot of weight high up… well that’s what people say. But then if you’ve ever seen a van with a roof rack and top box there can be up to 70kg up there. A tyre weighs a lot less.
Part 1: Inner structural Support
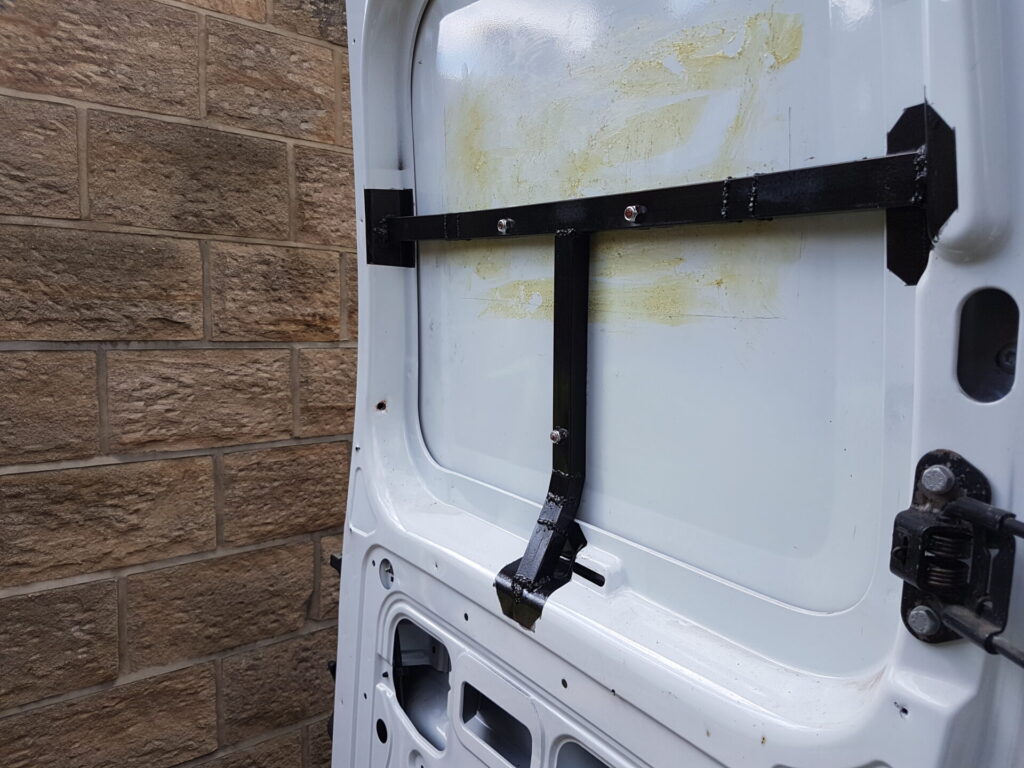
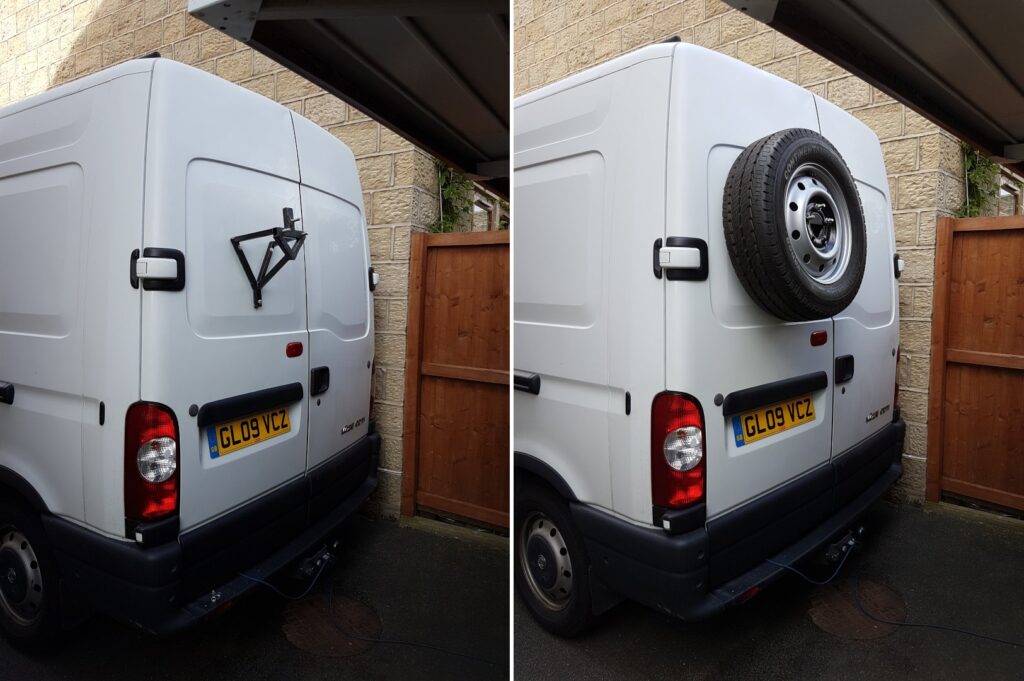
A spare wheel is heavy and the metal of a typical van door is about 1mm thick and will flex, bend and crease easily (just look at any builders van!). So it is important to make sure that the wheel’s weight is supported by being directly attached to the more sturdy cross-members and beams of the door frame. To acheive this I built a “T” frame which fit flush with the inner surface of the door skin, but terminated against the horizontal and vertical parts of the frame. I had to make a curve in the arms to achieve this as shown in the picture. This frame was then welded directly to the door frame. The frame and weld points were then painted with red oxide and sprayed black. Three holes were then drilled through the frame and the door so that the actual wheel mount would bolt directly into this frame.
You’ll see in the full van tour that there is a panel covering the inside of this door and the yellow stuff you can see was the adhessive from the carpet lining left over from the first build.
Part 2: Outer Wheel Mount
Time for more welding, red oxide and careful measuring. The outer mount was designed so the wheel would sit almost flush with the back door, but not touching so the tyre rubber doesn’t mark.
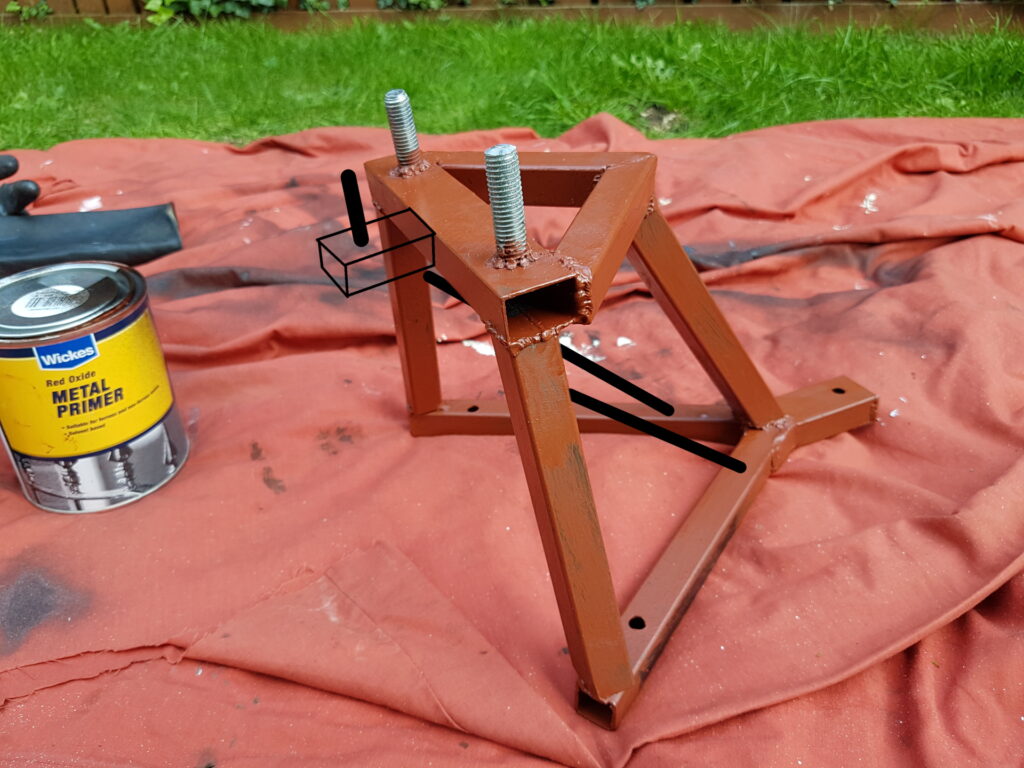
OK so what are we looking at here? Well don’t be too hard on the welding, it was one of my earlier pieces and this was a prototype. I’ve added some sketches to the image to show you the next version. Firstly I added another section of box tubing to accomodate a third threaded bolt. These three bolts are the attachment point for the wheel and align with the wheels normal bolt holes. Three are needed because… triangles = strong and it stops the wheel pitching. The two thick black lines indicate where I will weld in place diagonal bars connecting the rear of the mount (on the ground) with the arms facing upwards. These will give the mount a lot more strength.
Putting the Pieces Together
Note this was a test fitting, the mount was removed and the diagonal braces put in. The reason for test fitting at this stage was incase adjustments were needed, it would be easier before the diagonals were in place. For security I would place a heavy duty motorcycle lock through the wheel and through the mounting frame. I would also have a metal cable which went through the hub of the wheel and around the hinge which you can see alongside. Then if there was a problem and the wheel broke free it would still be attached to the van and not harm any following vehicles.
I’m happy to add years later that this setup worked great and was as solid as a rock! After thousands of miles I inspected the assembly and it was all tip top. One final note. Whenever I cut through the van or in this case, drill three holes, I always treat the exposed metal with anti-rust paint, such as red oxide, as well as painting over it. Plus I ran a bead of non-acidic silicone on the mating surface between the mounting frame and the outer surface of the van to seal it against any moisture or dust ingress.
