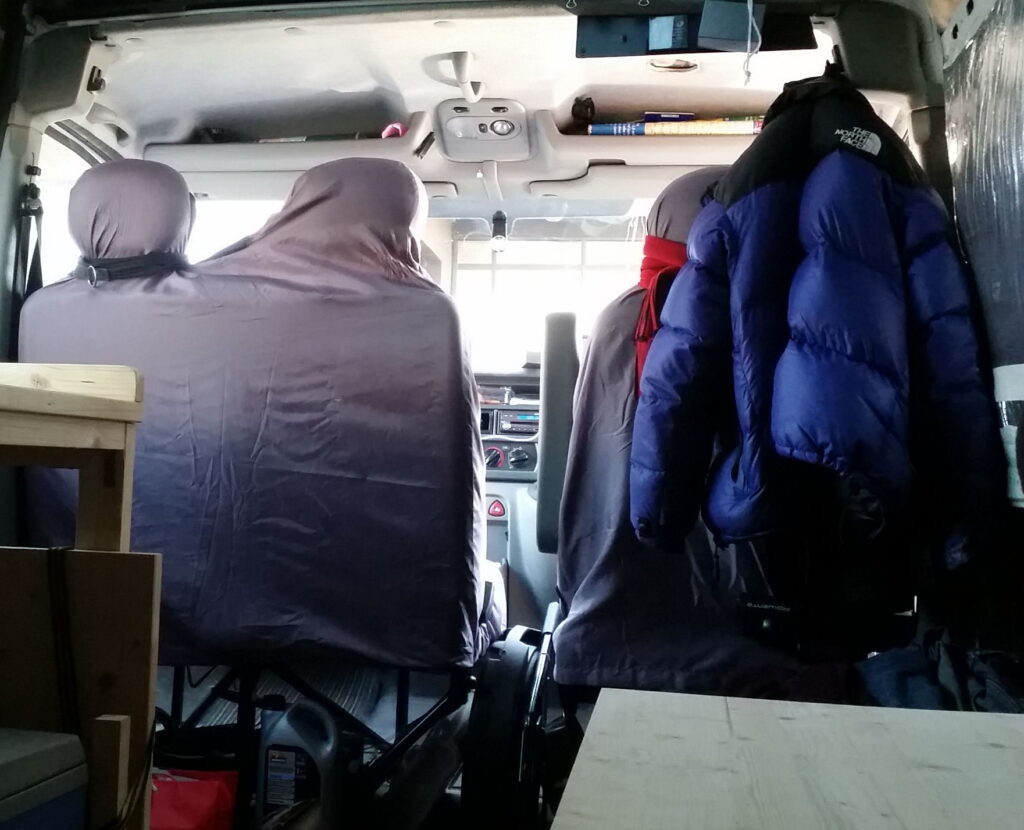
With the new Vauxhall Movano campervan refit well underway it’s time to tackle a big issue. At present it is very difficult to get from the front cab into the rear because the passenger seat is a double seat. I want to widen the gap and get rid of as much of the middle seat as possible. It’s time to get the angle grinder and welding equipment out.
1. Remove the Double Passenger Seat
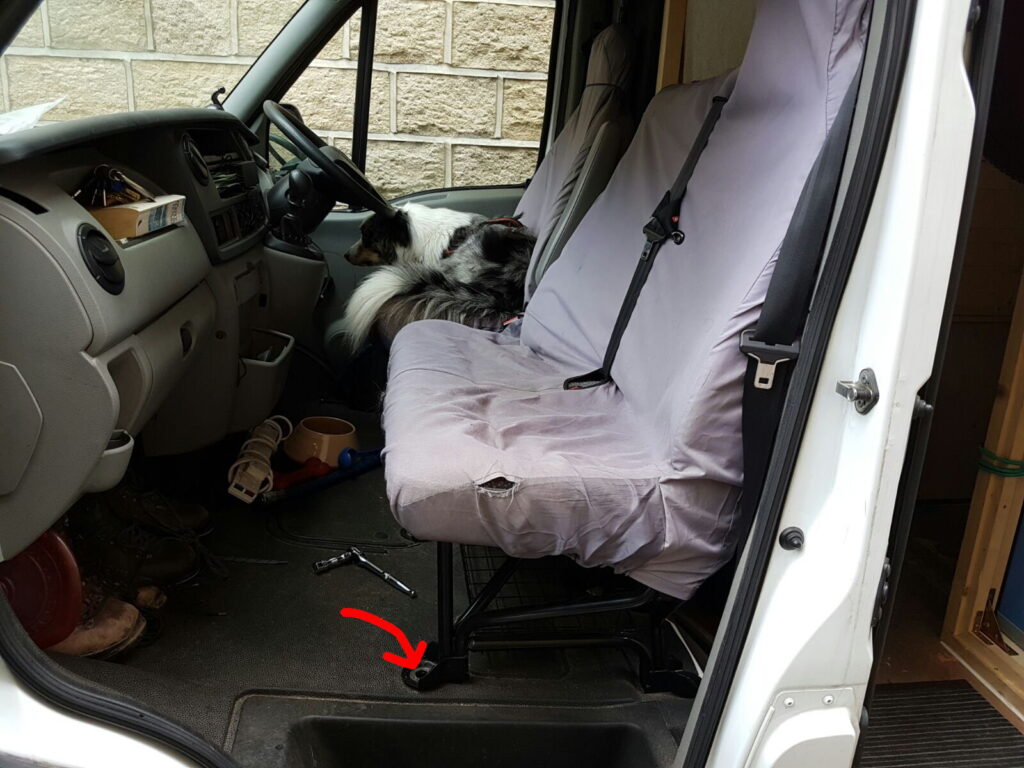
The good news is that there are just 5 large bolts holding down the passenger seat and they are all easily accessible, especially now the bulk head has gone. In this 2009 Movano there’s no electrics going into the passenger seats, but if your van has electrics then you may need to run a bypass. Investigate thoroughly… at least as a starting point unplug the electrics going to the seat and see what happens, most likely it is a seat belt sensor or a pressure sensor to warn if someone is not belted up. You can bypass these easily if needed.
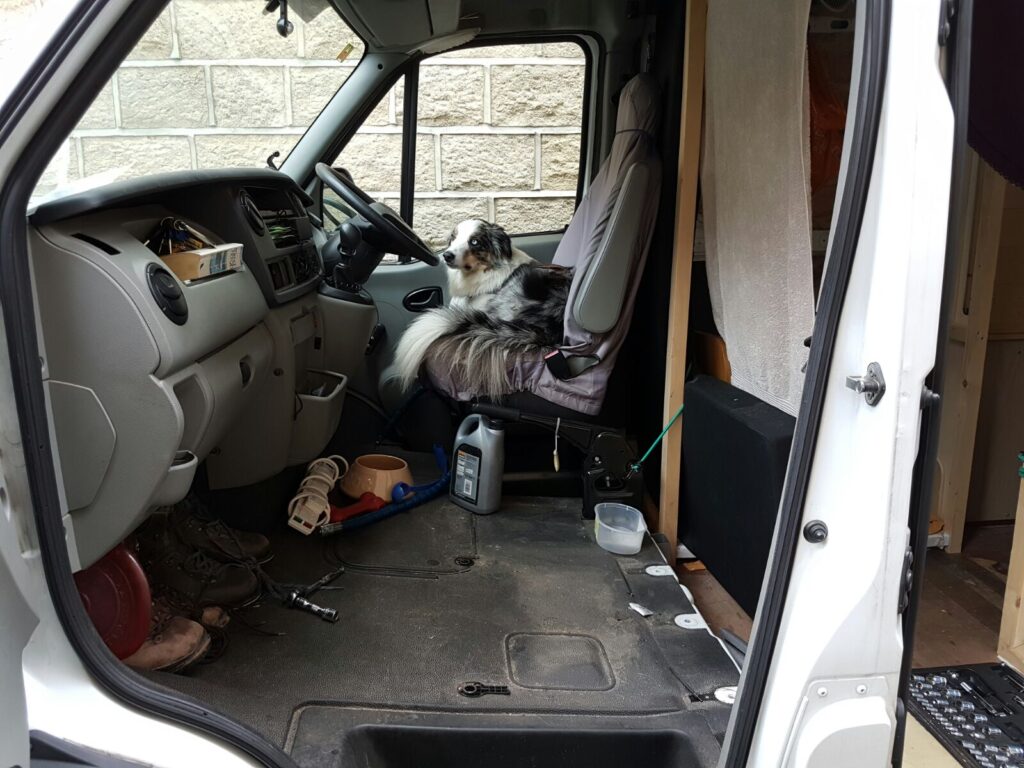
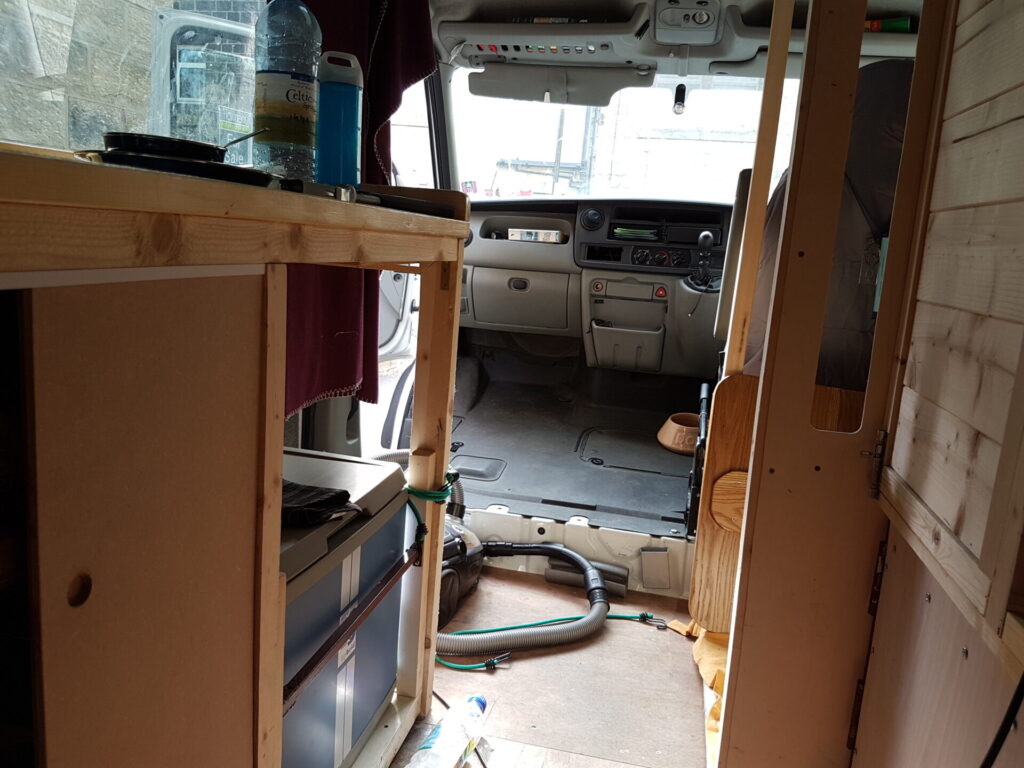
Now would be a great time to give that floor a much needed wash! The image below shows the amount of space liberated by removing the seat. obviously we’ll be putting a seat back in there soon, but for now, it’s great to feel all that extra light and room, plus easy access to the driver’s seat… a taste of what is to come.
2. Strip the Seat Down to Bare Metal
The seat has cushions, a rear plastic moulded panel and mid-seat seatbelt. All this needs to come off, which is just a case of a few bolts and clips.
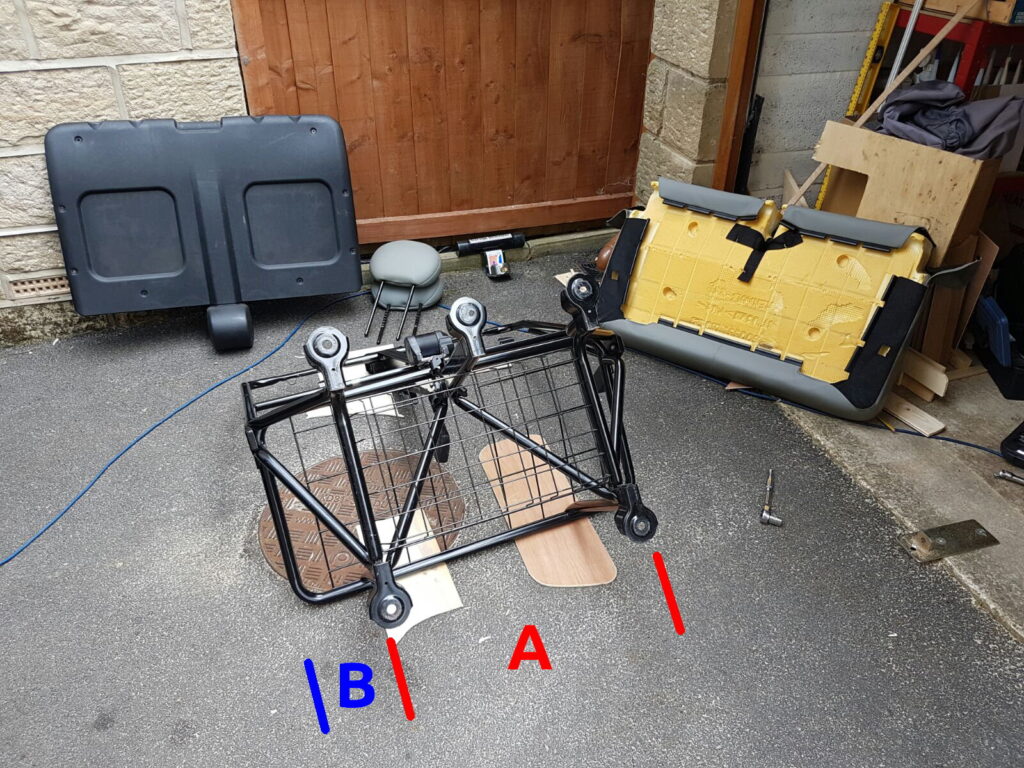
What I want you to notice above is how much the seat overhands the mount point as shown by (B). The part of the seat that must remain in place is indicated by (A). It may not look like much, but removing part (B) from the seat will allow me to walk through from the front to the back with ease.
3. Brace the Feet and Markup the Cut Points
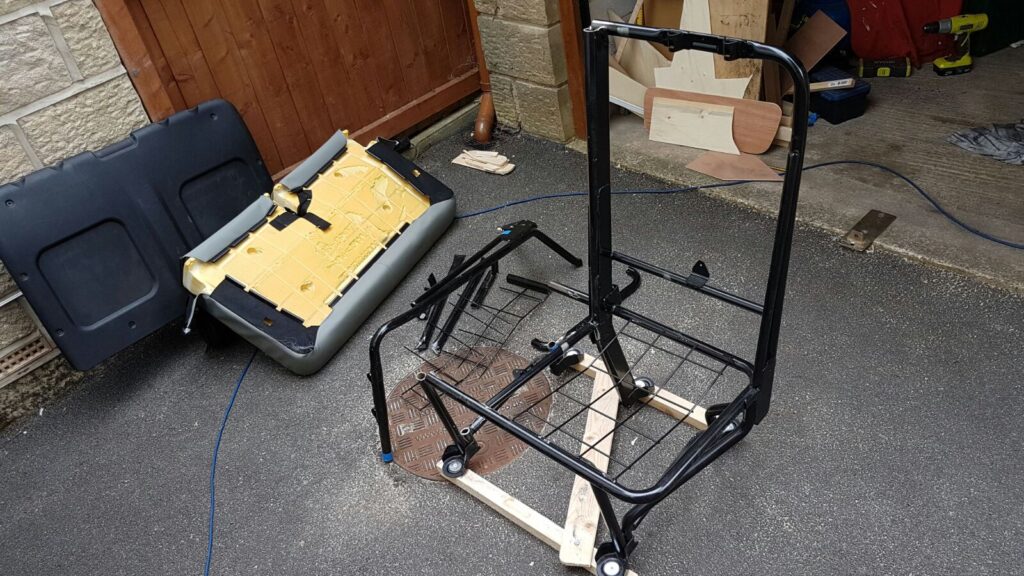
The five mount points line up perfectly with the five bolt holes in the floor of the cab. But I’m going to have to cut this seat up a lot and so could potentially lose that alignment. To save me a lot of hassle down the line I’m going to mount the chair to a wooden frame so that even if I cut the legs the mount point positions will be held in place. You’ll see this in the next picture.

To make it easier for you to visualise I’ve digitally coloured the part of the chair that I want to get rid of in red. You’ll note that I’m intending to keep the left hand side curve and mate it up with the ends of the seat bed, once I’ve cut the red parts out. I’m also going to get rid of the entire mid-seat back right up to the main verticle support. You’lnn notice the brace wood which the chair is bolted to. The blue masking tape has the cut marks on it.
4. Angle Grinder Time!
OK so after a bit of chop chop I’m left with a lot of spare metal. I’m going to re-use some of these off-cuts to make additional reinforcing supports. Remember this is what you’re sitting on in a crash. Diagonals = strenth.
5. Welder Up!
OK now its a case of reattaching the curved section and welding in some additional diagonals from the offcuts.
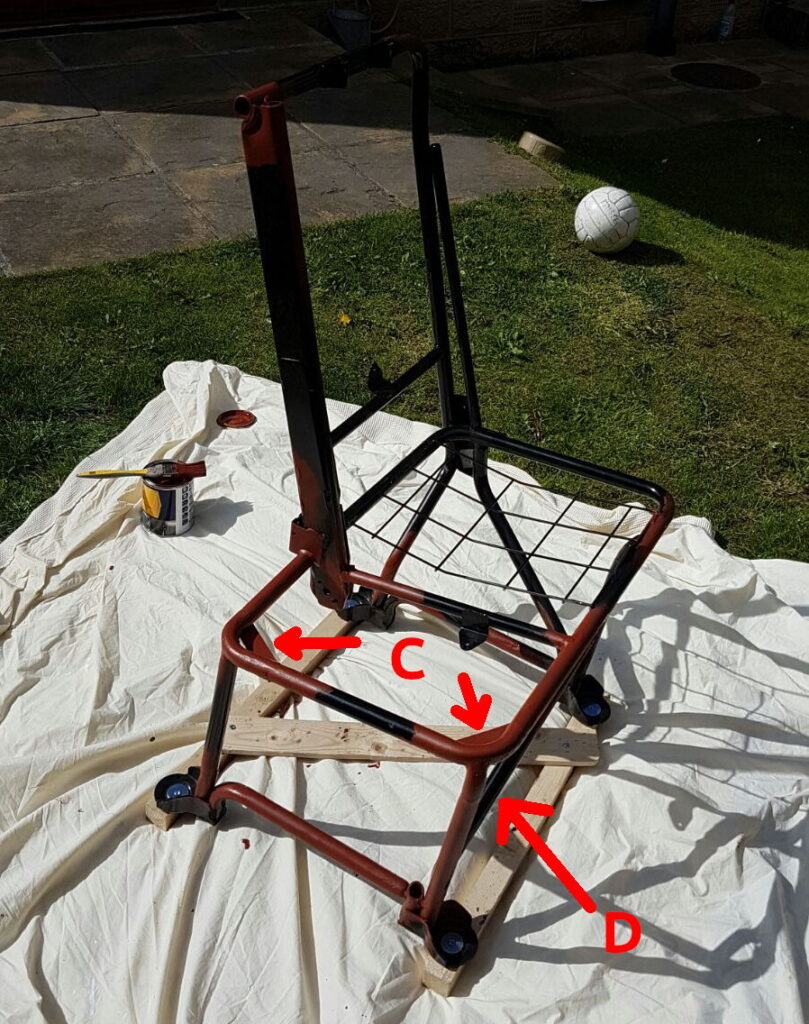
All the welding has been done and the parts of the frame that were bare metal have been treated with Red Oxide paint to protect it from rust. You’ll note I have welded some tabs (C) into the underside of the seat and you can see the diagonal (D) at the front.
Reassemble, Finish and Fit
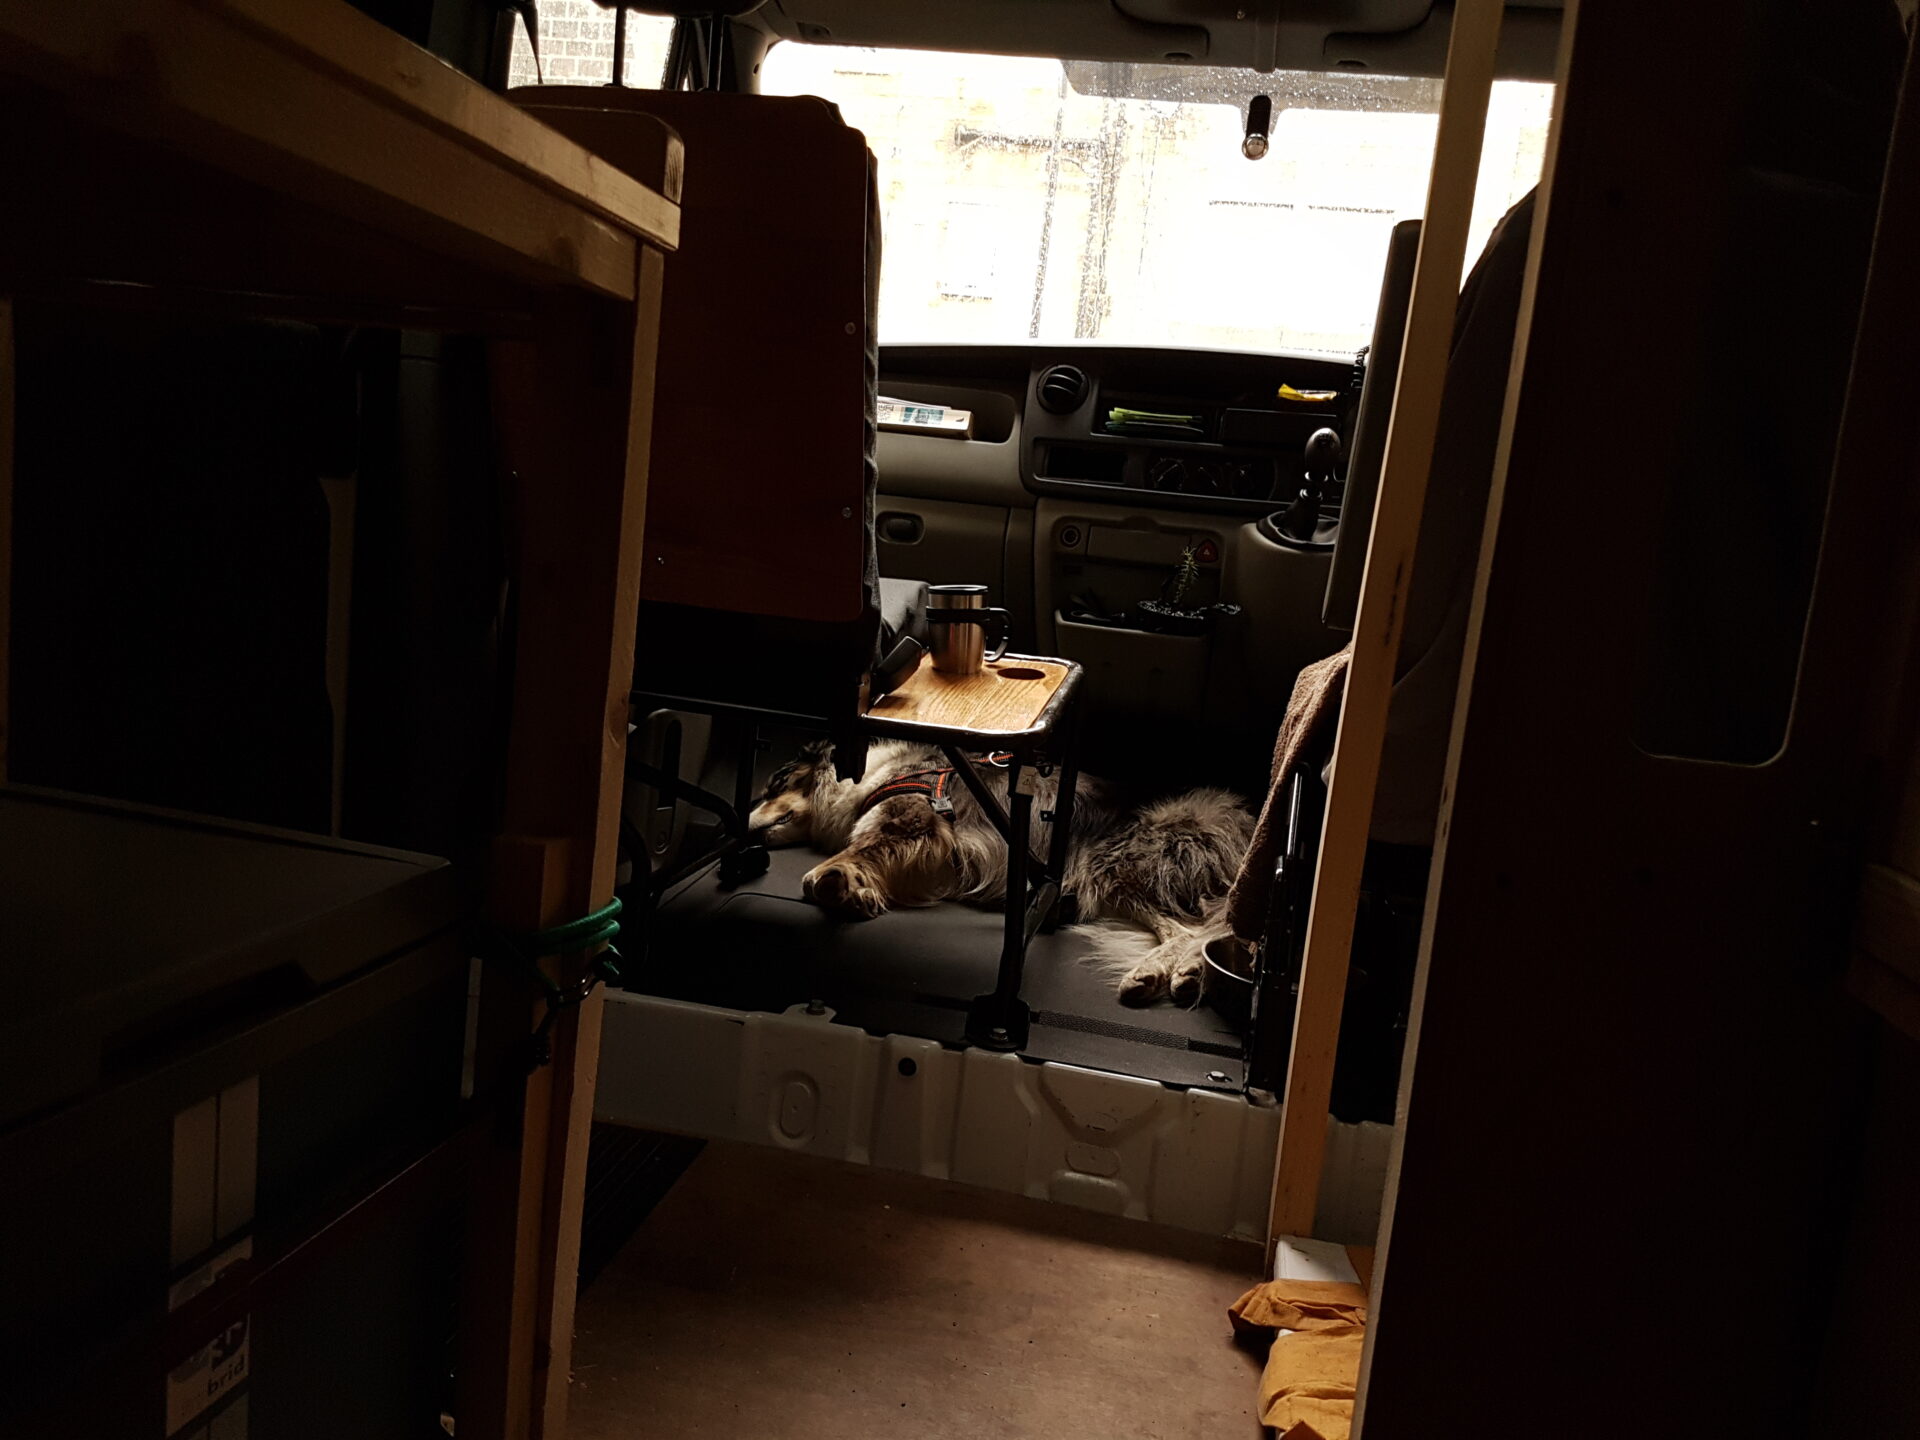
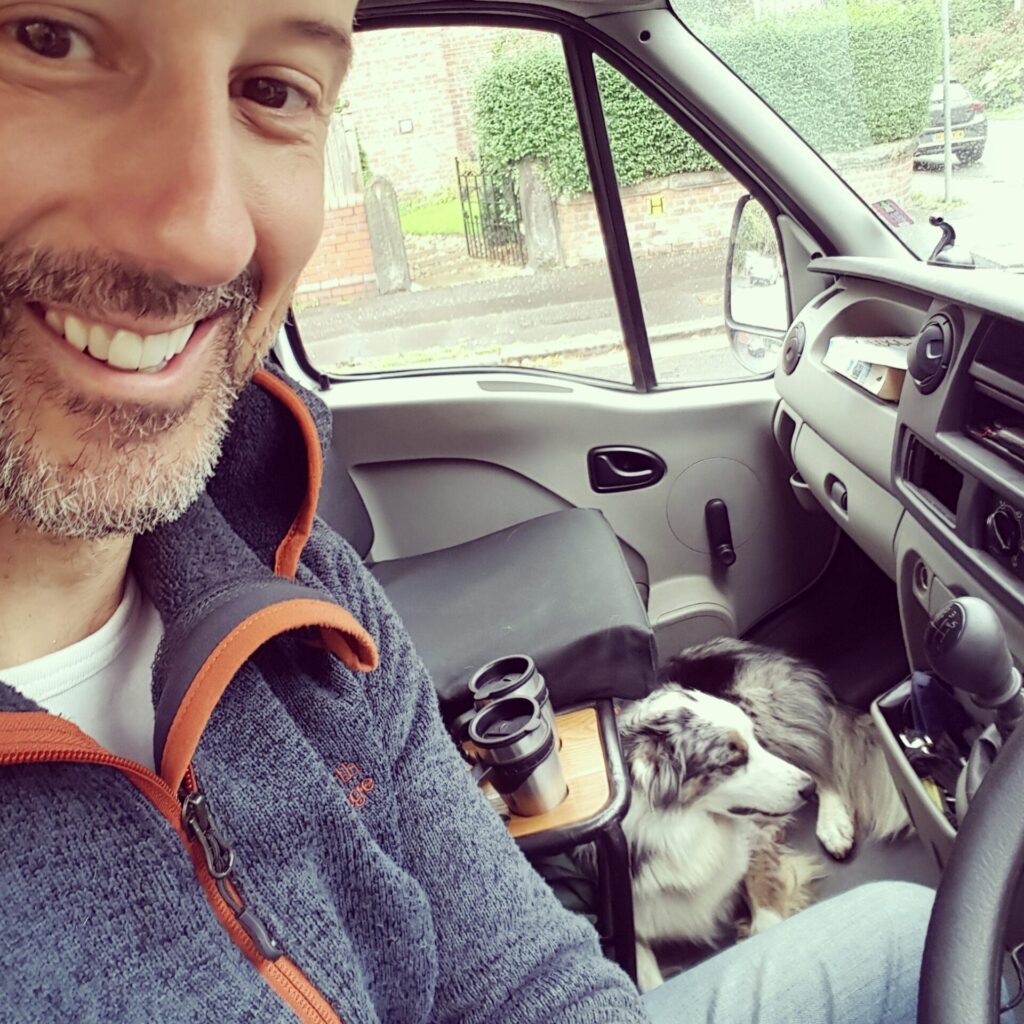
Reassembly was pretty easy. I cut the cushions down and re-upholstered them using a hard wearing fabric which had previously covered the L shaped bed in the original build. I then cut a piece of American White Oak, which was left over from making the main table and inserted it into the area, (C) above, and screwed it into the tabs. This mini table had two cutouts to accommodate two travel mugs for coffee on the go! The back of the seat, which previously had the grey plastic moulded cover is now finished in a thin sheet of marine ply which is varnished in marine varnish to give a deep rich tone. Personally I’m a fan of natural wood highlights, because they add a warmth. Below you can see the finished seat conversion, modelled by Blue:

You can see a full van tour of this build including videos and photos here.
