It’s been a bit quiet on this blog as I’ve been busy enjoying life and that includes my van. In fact the van has been fantastic as a mobile home for holidays, moving equipment for work, travelling abroad etc. and all this time in the van in various situations has made me refocus on “What would I do differently if I was designing a van conversion from scratch”. There’s so much in my van that really works well for me but there are also a few compromises in terms of design which I’d love to update/change. Having used this van for over 5 years now, and she’s still running great, I’m seriously considering a make-over. I’m talking back to bare metal, because experience renovating other vehicles and several old properties has taught me the golden rule of DIY/renovation:
“If it’s worth doing, do it properly or don’t bother”
Now while it might sound drastic to suggest completely gutting a van, it’s actually probably going to work out more cost effective than trying to do big changes working around existing fittings.
Before I delve into what, how etc. let’s look at answering the key question… what would I do differently in terms of campervan design. Here’s a few thoughts, but first an explanation of the existing design ethos;
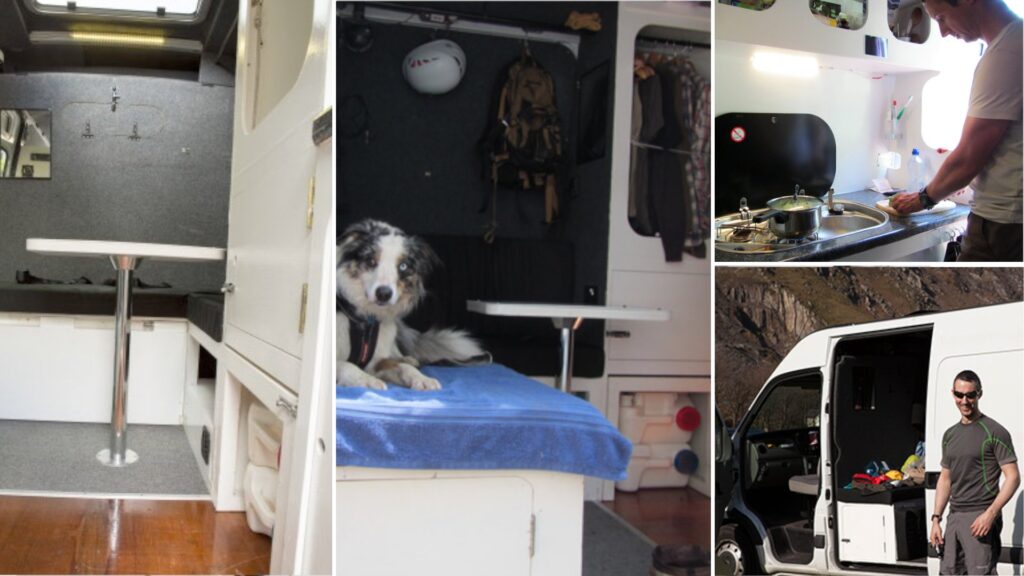
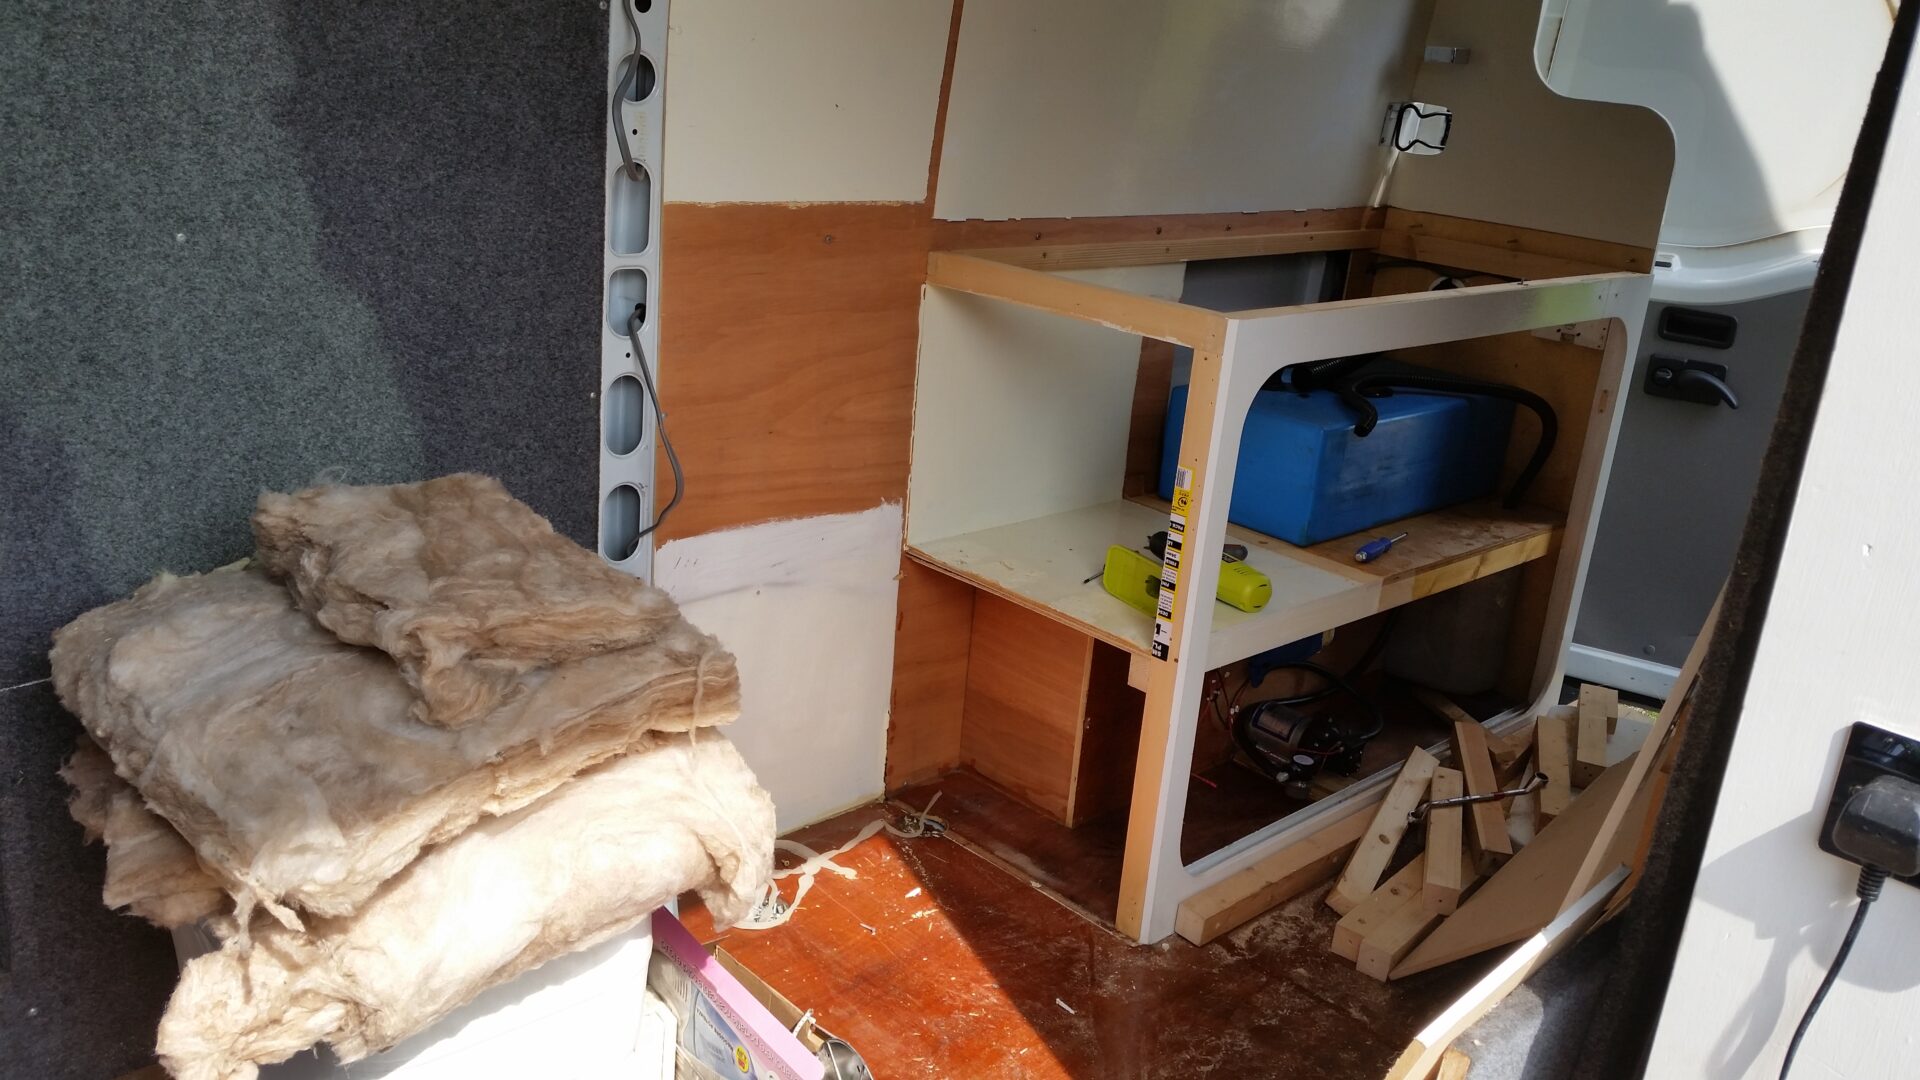
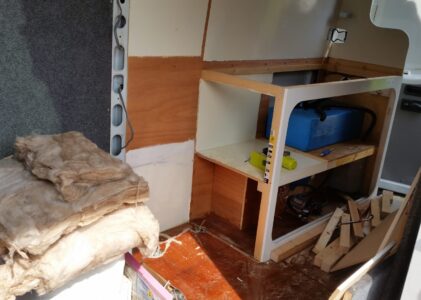
The existing campervan design which you can see here, was primarily a works vehicle (mobile film editing and equipment moving) with at times a lot of expensive kit in the van during transit (I don’t leave anything in it). So the primary focus was on security. There were zero external windows and a heavy duty bulkhead isolating the cargo bay from the front cab. half the van was dedicated to storage and the living stuff was fitted around it. It’s not bad and functions well enough but my needs have shifted and I want to make the van much more travel/adventure oriented.
Redesigning the Motorhome Interior Layout:
- Lose the bulkhead so you can walk through from the front. Great when it’s raining and this also increases the sense of space.
- Change the front double passenger seat for a single seat which swivels. This allows for more usable leisure seating and integrates the front cab more into the living space. It also allows walk through.
- Add a shower! I already have a toilet but it would be great to have a shower too. This would make the van 100% livable as the shower really is the only thing missing.
- Add solar panels. At present the split charge relay system which I discuss here works great. But I’m anticipating longer holidays and more time between driving so… solar is a cool way getting energy.
- Close the back doors and put a false wall in. I’ve talked already about the pros and cons of back doors in campervans but for me it’s now a pro to lose the doors.
- Put another window in the back of the van – living light! When it was all about security I didn’t want any windows. Now it’s a compervan I’m embracing it and more natural light will transform the quality of the ambiance.
- Lose the vehicle carpet on the walls/ceiling. Long haired shaggy Blue Merle Australian Sheepdog (Blue) + Grey carpet which is like velcro for dog hair = high maintenance. I’d rather just sweep up the dog hair than have to pick it out of the van walls. If you’ve got a hairy dog you’ll get this point about designing a campervan interior for travelling with a dog.
- Add a wood burning stove. OK this one I know is getting a bit out there but, and it’s a big “but”, there are some very good reasons: Although I have a proper gas driven heating system (it’s dry as the fumes go out and only hot air stays in) it does use up gas (obviously) and when you need to be warm and you’re out of gas then you’re screwed! You can usually find wood or something combustable though.
- I actually got stranded for a day in -10 degrees Celcius in the UK a few years back. I learned something important about gas that day. Gas (propane eg) doesn’t perform below certain temperatures. So you can’t use probane/butane when it’s really cold as there just isn’t enough pressure in the bottles and the gas stays liquid. A wood burning stove is a great backup.
- Another reason is that there frankly is nothing more homely, relaxing and pleasing than sitting round a wood burner.
- Once hot even after the flames have died the metal of a wood burner continues to radiate heat for quite some time.
- There is the potential to make a back boiler for hot water…. more to come on this idea/project.
- I want to. That’s a good enough reason. I’ve been exploring projects others have done using old propane gas tanks (without the gas!) as the body of a stove. They are really good and look great too!
- Finally there’s the fact you can cook on them and even use them as an oven.
Time will tell how many of these ideas get realised but having travelled, stealth camped, and lived for extended periods in this van I think that having a clear idea of what your likes, wants and needs are helps prioritise what gets done. I’d love to know what’s on your like, want and needs list. Leave a comment below!
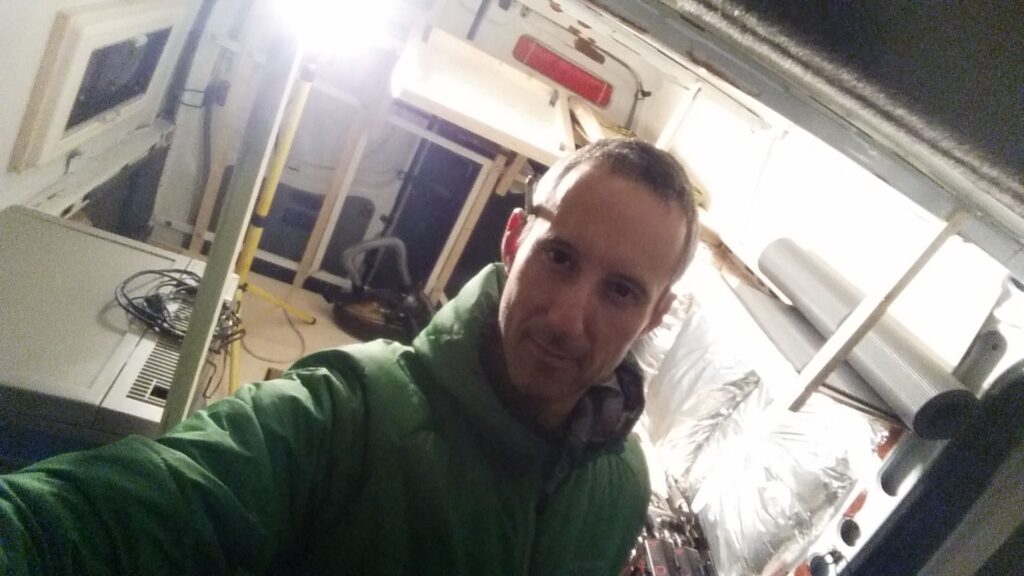
Talk is cheap but this picture… taken a few months later shows I put my money where my mouth is and gutted the van. You’ll notice I’ve already started the work of blocking off the rear and is that a window in the back?
